
Contents | Start | End | Previous: Chapter 1: Introduction to Ebooks and Jutoh | Next: Chapter 3: The Jutoh User Interface
In this chapter we’ll demonstrate how easy it is to go from an existing file to a new Jutoh project and a generated ebook. We’ll assume that you’ve installed Jutoh – see Appendix A: Installing Jutoh for details.
In this tutorial we’ll be importing an ODT file called ‘Lena.odt’ – you can substitute it with your own file. Jutoh will accept OpenDocument (ODT), Word (DOCX), HTML, text and Epub files (DOCX and ODT are recommended for best results). If you want to create a project from scratch instead, just choose From scratch in Step 5 below.
Run Jutoh and click the New button on the toolbar (or type Ctrl+N or click on File | New Project). You will be shown a wizard that will take you through file import. Here are the steps for importing it, one step per wizard page.
This page is for entering information about your book.
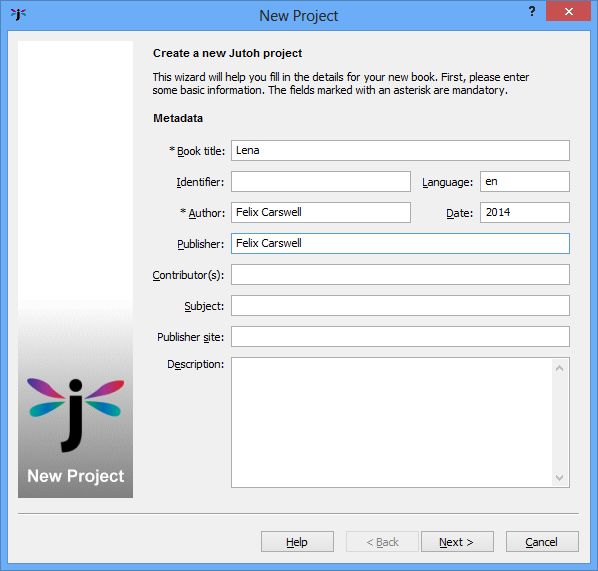
Step 1: Metadata page
Type ‘Lena’ into the Book title field, and a name into Author field. Leave the other fields as they are (you can fill them out later). If you wish you can clear the Identifier field so that Jutoh will generate a unique identifier (UUID) for each ebook format that you create. Now click on Next.
Here, you can specify the project name and folder. You can leave the Book Formats options as they are.
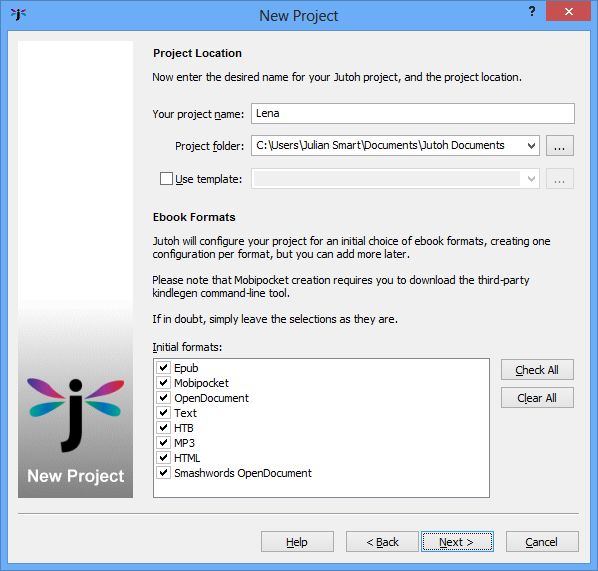
Step 2: Project Location page
Enter “Lena” into Your project name. If you wish you can change the location in Project folder. You can use an existing Jutoh project as a template if you wish, but you can leave the Use template option unchecked for this example. Press Next.
This page lets you choose between a reflowable ebook and a fixed layout ebook. Most of the time you will choose Normal reflowable book.
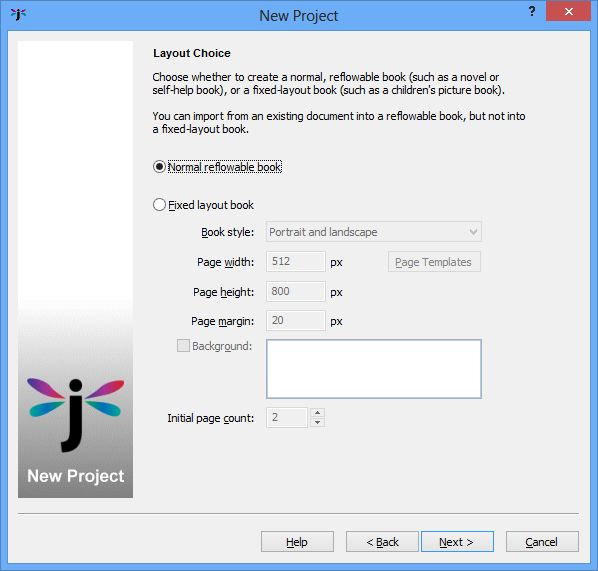
Step 3: Layout Choice page
Leave these options as they are, and press Next.
This page is for specifying various details about the import. You don’t need to change the defaults for this example.
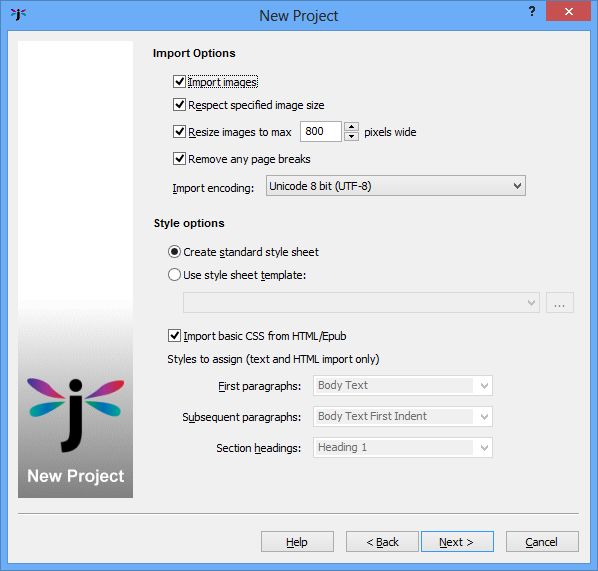
Step 4: Import Options page
Leave these options as they are, and press Next.
This page lets you specify a file to import.
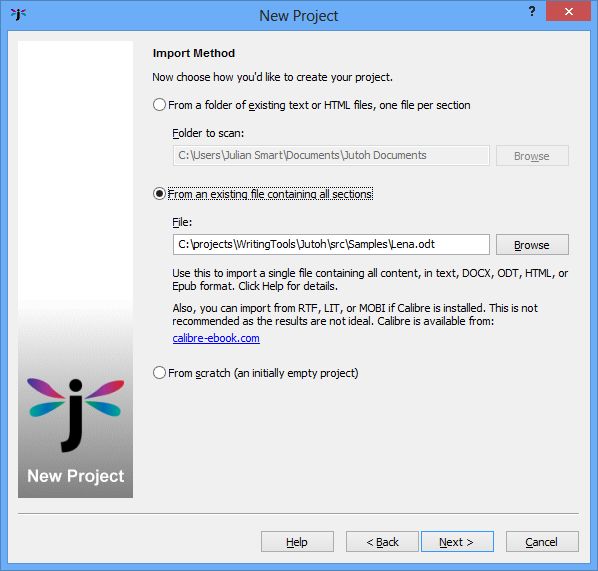
Step 5: Import Method page
Click on option From an existing file and browse for the file you wish to import. Then click Next.
This page helps you specify how to split the book into separate sections, which you can do by specifying a heading style to identify as the chapter heading style, or heading text to match, or simply to split at page breaks.
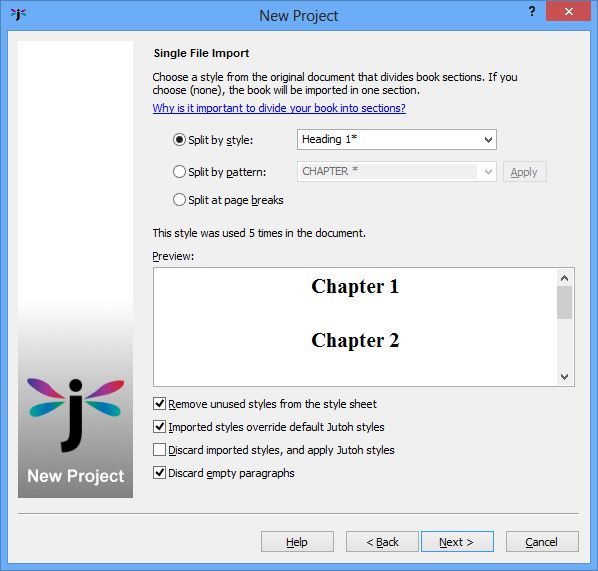
Step 6: Single File Import page
As you can see from the preview window listing the headings in the story, Jutoh has correctly guessed the paragraph style to use for splitting the story into sections, so in this case all you need to do is press Next. Don’t worry if your book is not correctly split at this point – you can split it manually using the menu command Edit | Split Document.
The last page in the wizard lets you choose a cover design.
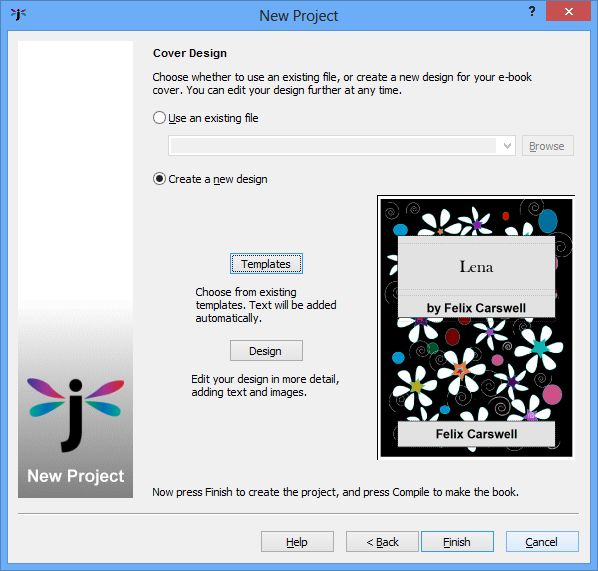
Step 7: Cover Design page
You can use the default design, or click on Templates to choose another template. You can change it later. Just press Finish to complete the import.
Jutoh will now create several sections, which are shown on the left in the Projects outline window. You can click on each section name and edit the text if you wish.
If you have made changes to the imported file, or wish to see if Jutoh can make a better job of splitting the book up by making different selections, you can save time by using the menu command File | Import | Reimport Project which preserves your previous selections.
If you prefer, you can bypass the New Project wizard using the Quick Convert  command on the File menu or toolbar. This chooses various options for you, such as the project folder, book name, book cover and so on, and it also allows you to choose several files for importing into different projects. You can then edit the project properties in the usual way, or you can use File | Import | Reimport Project to refine some choices such as how the document is split.
Now we have the book in Jutoh, we can create an ebook. In the bottom-left part of the Jutoh window you’ll see the Control Panel listing configurations. (If you don’t see the Control Panel, press Alt+7 or choose View | Control Panel).
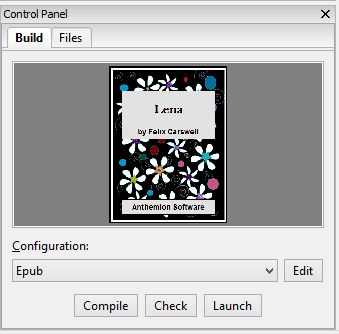
The Control Panel
Each configuration corresponds to an ebook format. Select ‘Epub’ if it’s not already selected, and click Compile. After it’s compiled, click Launch, and if you have an ebook viewer such as Adobe Digital Editions installed, your ebook will be shown.
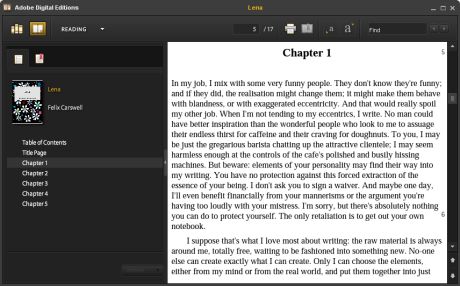
Viewing the ebook in Adobe Digital Editions
If you want to compile a Kindle file for the Kindle store, select the ‘Mobipocket’ configuration and again press Compile. (You need to have downloaded, installed and configured kindlegen for this to work – see Appendix A: Installing Jutoh and Appendix B: Configuring Jutoh) Press Launch, and if you have installed a Kindle viewer application such as Kindle for PC or Mac, or Kindle Previewer for PC, it will launch to show your ebook.
You can verify that the files have been generated by clicking on the Files tab in the Control Panel. You can select a file and then click Folder if you want to see where the file is on your disk.
Note that it’s important to use separate configurations to generate books in different formats, because a configuration has settings that optimizes the book for each format. For example, if you are distributing to both iTunes (Epub) and Amazon (Mobipocket), use the supplied configurations individually – don’t set multiple formats for the same configuration unless you are very sure of what you are doing.
Ta-da! You have imported content from a file and compiled an ebook. In the next chapter, we’ll have a closer look at Jutoh’s user interface so you can get to know your way around it.
Contents | Start | End | Previous: Chapter 1: Introduction to Ebooks and Jutoh | Next: Chapter 3: The Jutoh User Interface